I’ve been playing guitar for about 7 years, and absolutely love the instrument! I initially started learning by using YouTube to learn some of my favorite songs I heard on the radio – Despacito by Luis Fonsi was the first song I learned, followed by There’s Nothing Holdin’ Me Back by Shawn Mendes. Eventually, I started exploring more jazz songs, and even started my own band with some friends. We gigged at local restaurants and had a lot of fun improvising solos on the spot!
Now, I’m studying electrical engineering at Georgia Tech, and stumbled upon a project making a guitar pedal from scratch. Realizing I could combine my two favorite interests, I decided to try learning how to build guitar pedals.
Breadboard Implementation
For this project, I will be using a design created by Tone Charm Audio, and studying how it works. Here is the schematic:

Figure 1. Schematic of distortion guitar pedal circuit.
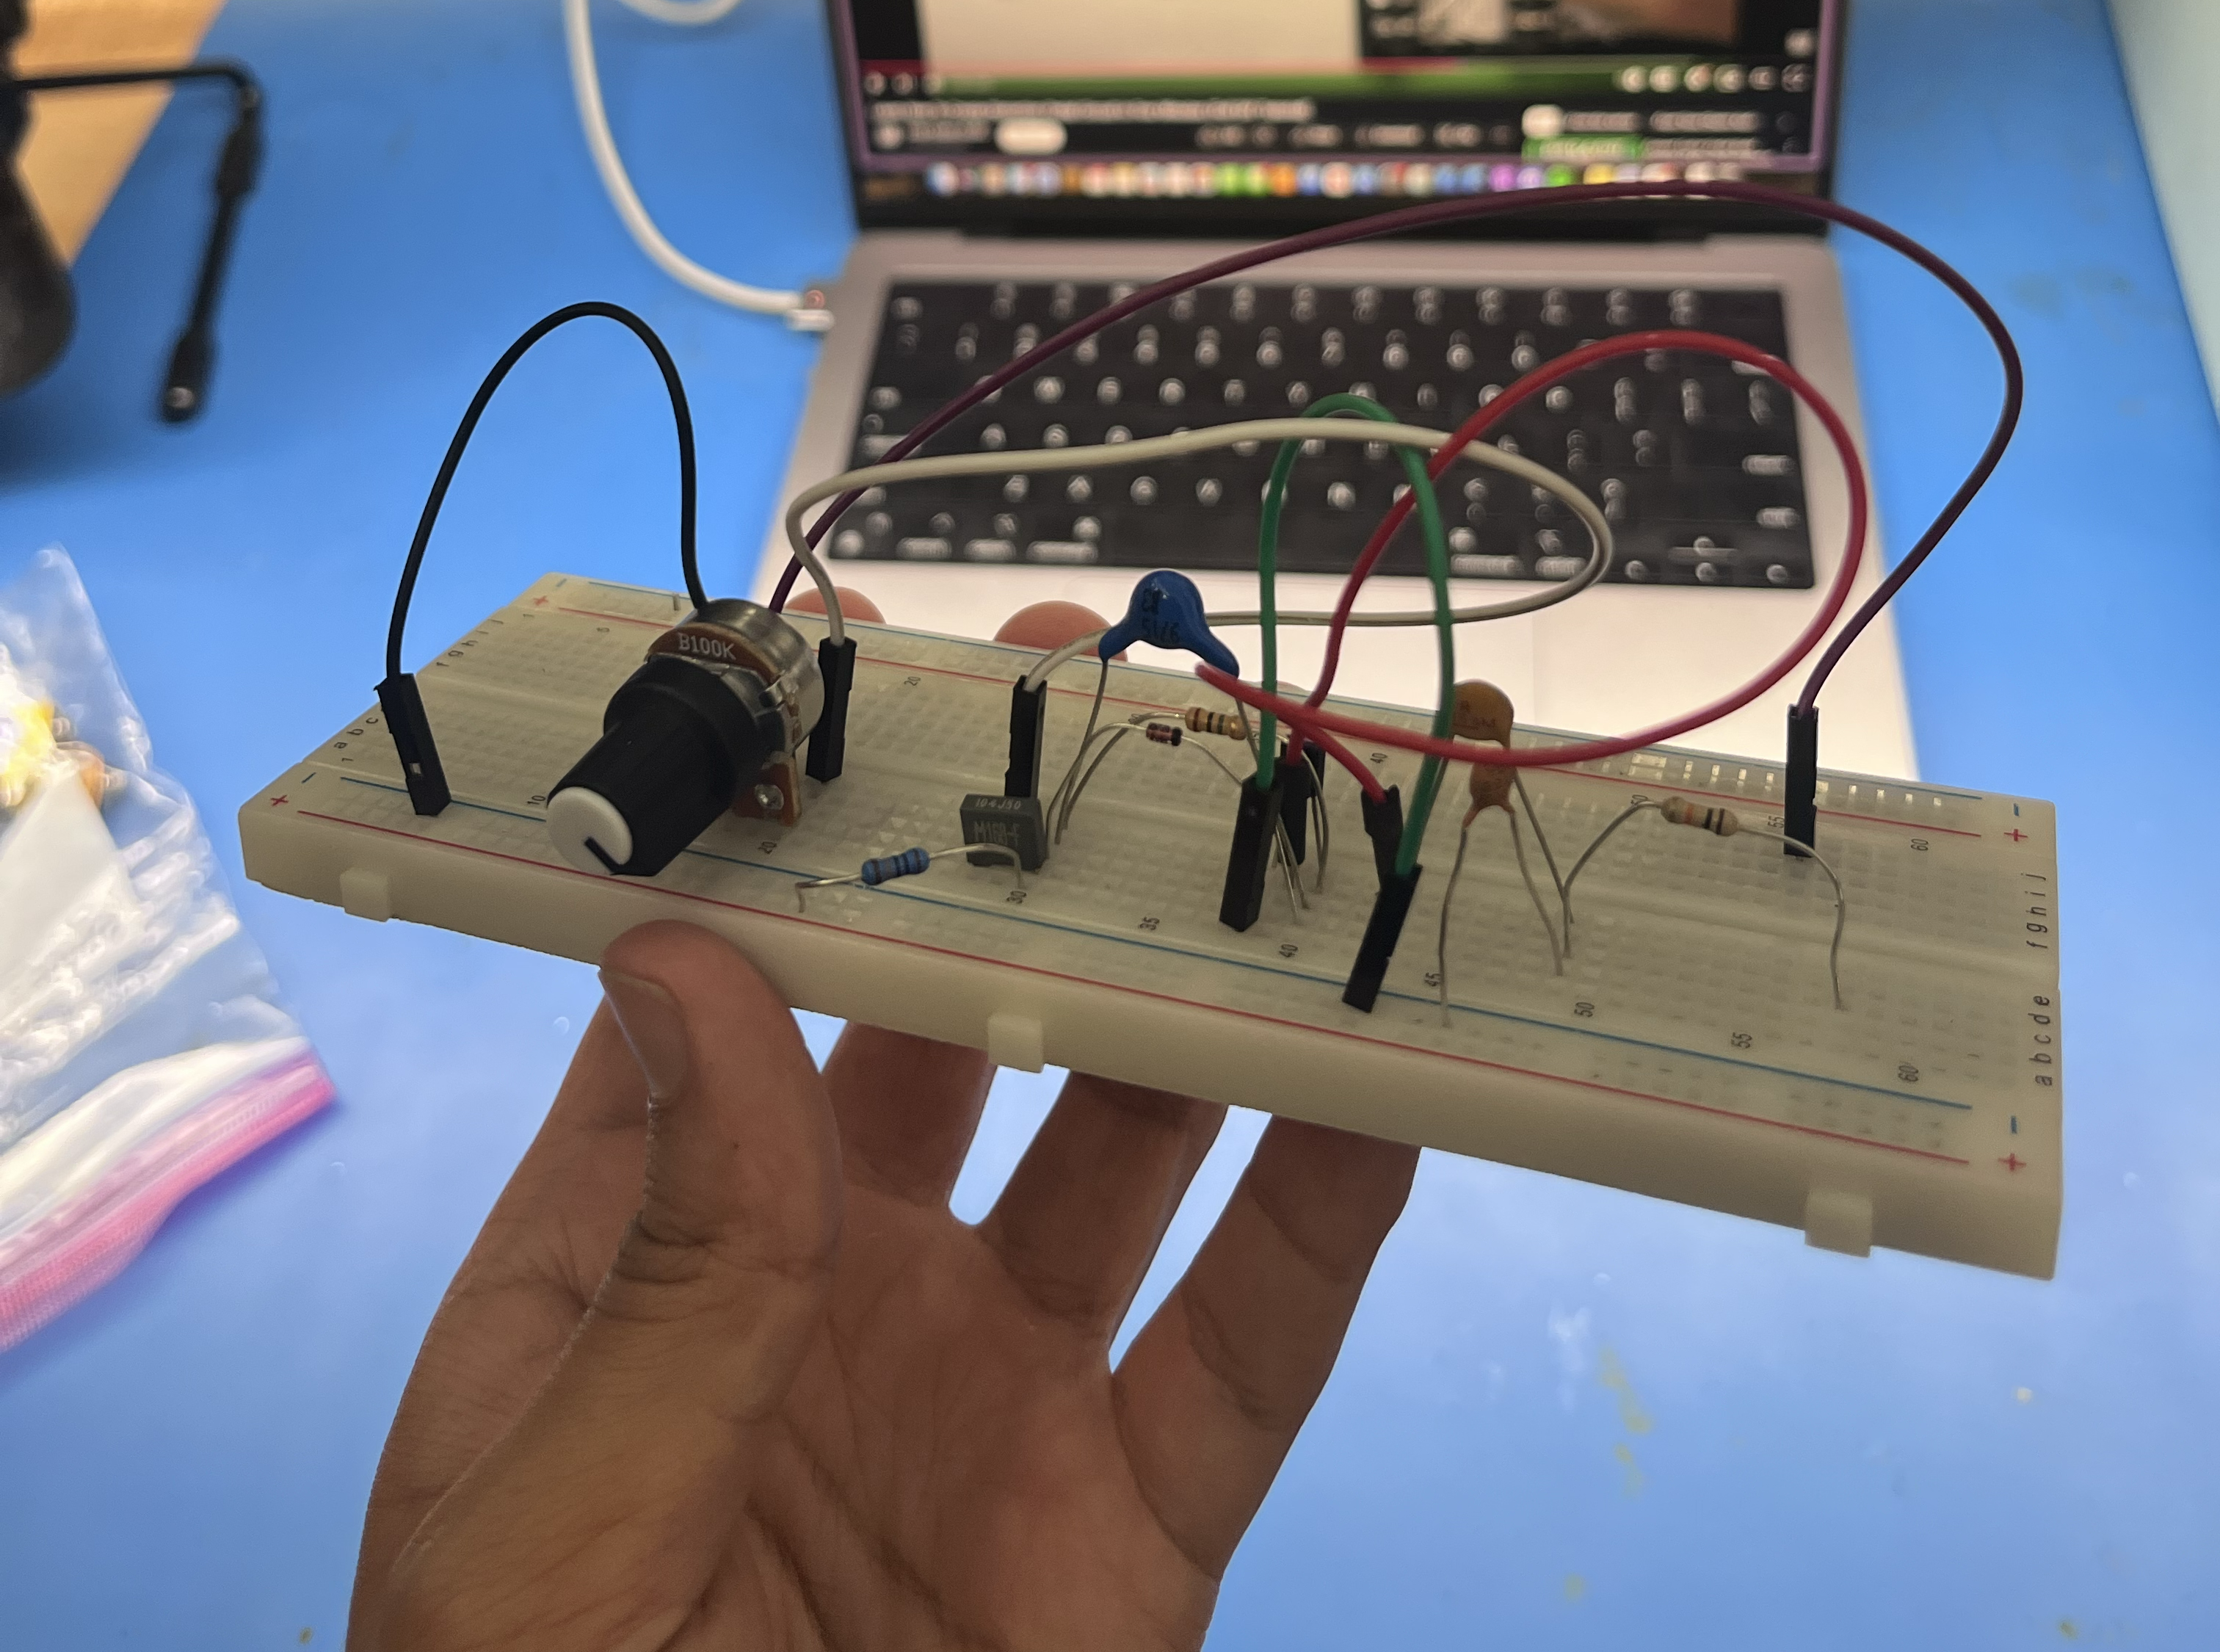
Following the schematic, I was able to create a breadboard that looks like this:

Figure 3. Breadboard implementation of guitar distortion pedal circuit.
I chose to use a breadboard for the first prototype because of how easy it is to move around components in case of errors. After visually checking all my wiring and tracing connections with a multimeter, I decided to take my new pedal for a test drive. Here’s the before/after of how it sounds:
Protoboard Implementation
After building a successful breadboard prototype, I decided to create a more permanent prototype using a soldered protoboard.
“Manufactured” Prototype
Obviously, when you buy a guitar pedal, it doesn’t look like this. It is encased in a nice project box that hides all the electronics. My goal for this project is to build a device that looks like an off-the-shelf guitar pedal.
In progress… Please check back later